Using custom styles with Google Maps Android API

Google Play Services 9.6.0 introduced a long awaited feature — custom map styles!
Map styles allow you to customize the color, visibility, and density of almost every map feature.
This is really powerful! Not only can you change the style to fit perfectly within your brand, but you can hide specific map elements.
-
Does showing roads or public transport detract from your content? Hide what you don’t need.
-
Don’t want to clutter the map with business POI’s. Hide them too.
-
Want to highlight parks on the map? Give them a bright color and make everything else greyscale.
What if you wanted to change map style at a certain time of day, or as the user zooms in?
It’s totally possible.
Map styles can be changed on the fly.
I decided to see how far I could push this. My goal was to implement a sample app with a ‘Level of detail’ map. i.e. as the user zooms in, more map feature become visible.
Check out the sample project here, or keep reading!
Lets dive in!
Map styles are defined in JSON. Here’s an example style that hides POI’s, roads and transit features:
    [
      {
        "featureType": "poi",
        "stylers": [
          {
            "visibility": "off"
          }
        ]
      },
      {
        "featureType": "road.highway",
        "stylers": [
          {
            "visibility": "off"
          }
        ]
      },
      {
        "featureType": "transit",
        "stylers": [
          {
            "visibility": "off"
          }
        ]
      }
    ]
You can edit the JSON yourself, or use Googles handy Styling Wizard.
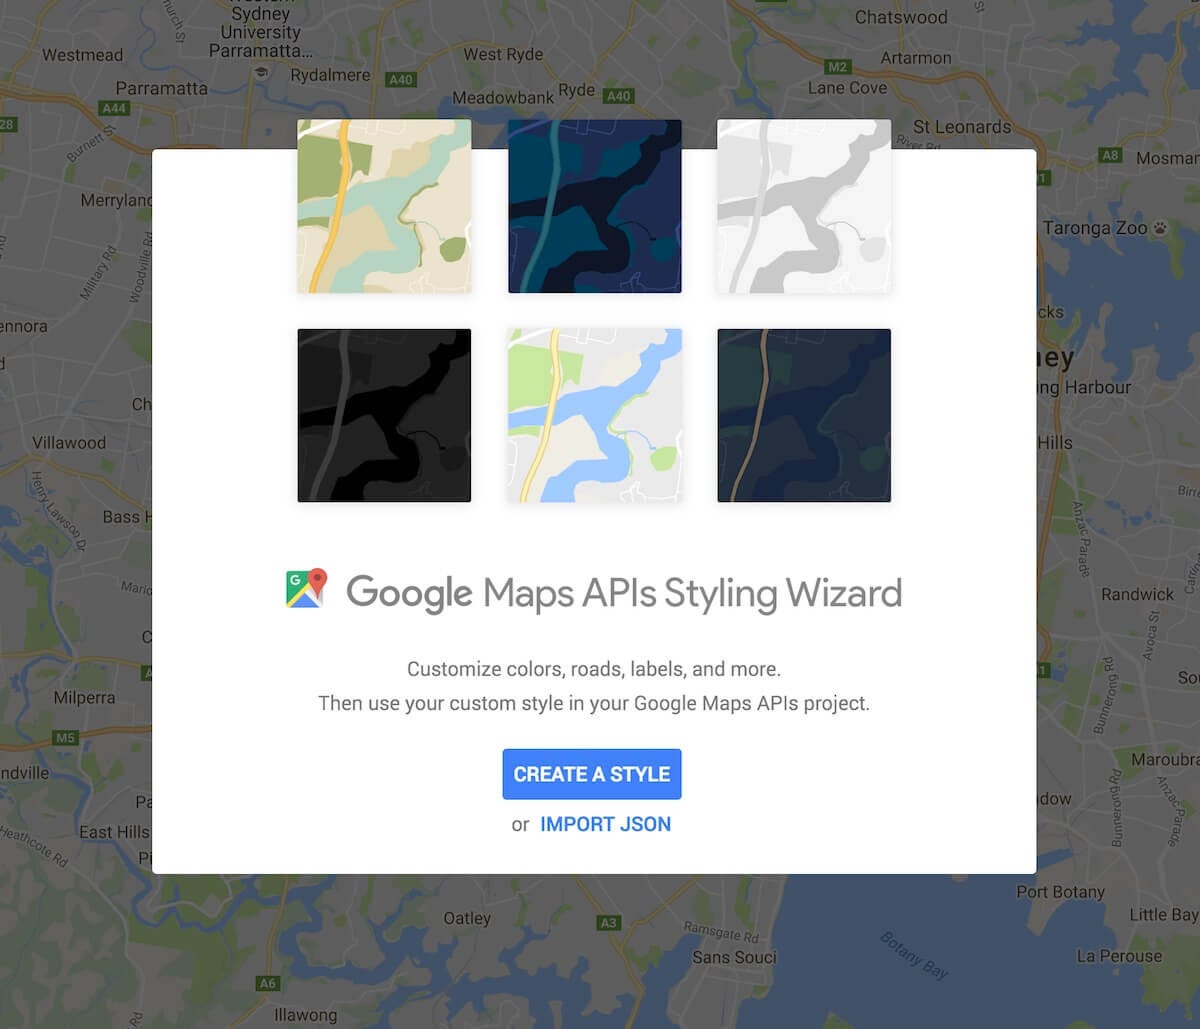
The styling wizard comes with a handful of prebuilt styles, including a night mode style— check them out.
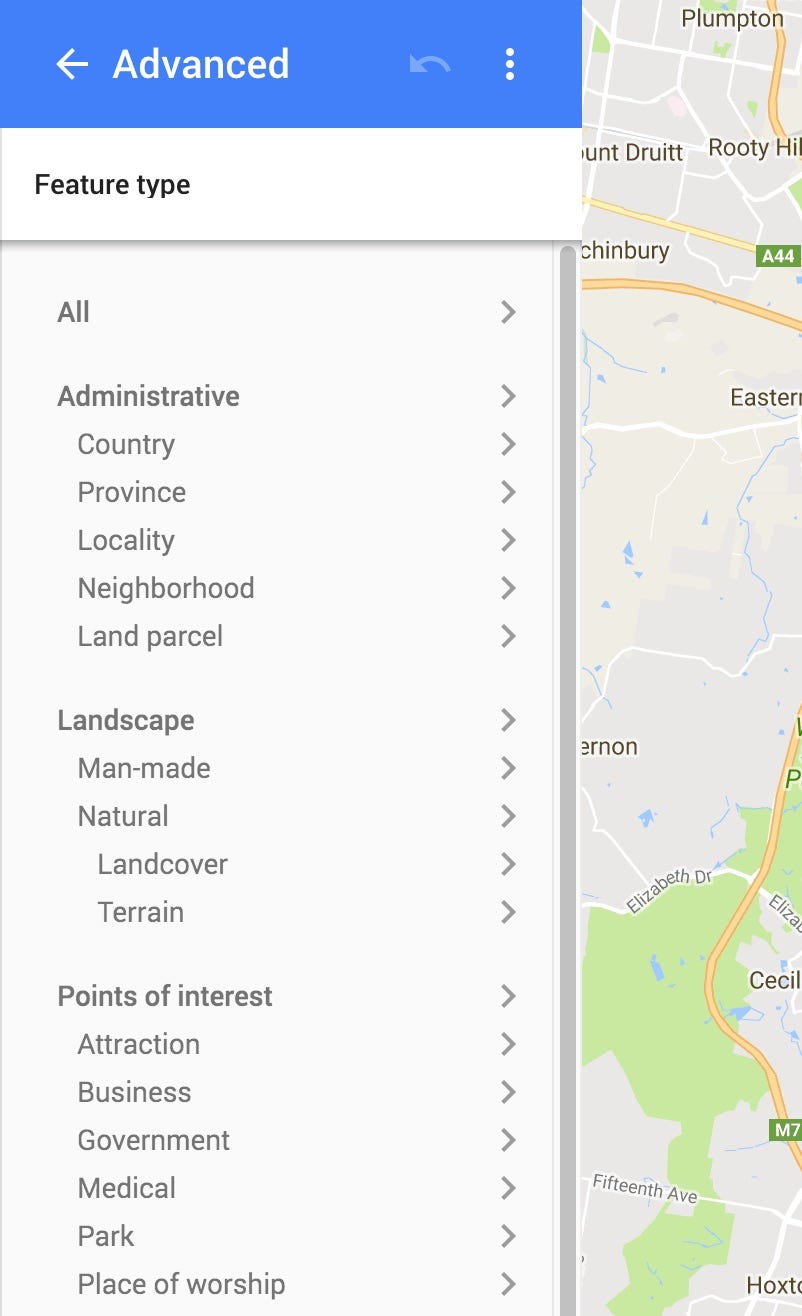
Or you can toggle advanced mode to tweak the map style to your heart’s content. There is an overwhelming amount of options. Happy styling!
Once done, you can export the JSON to use in your app.
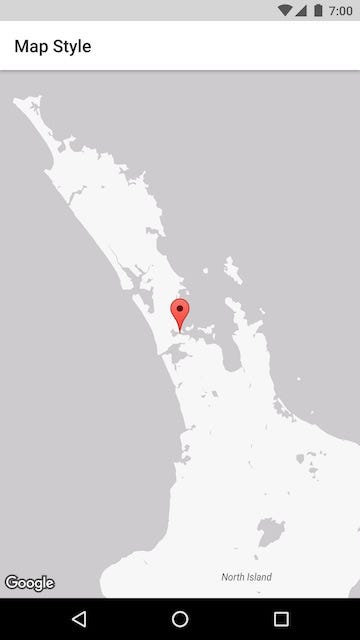
Applying the style
Applying the style to your map is super easy.
The recommended way of storing a style is via a raw resource file in your Android project.
The new MapStyleOptions class provides a handy method to load this, and there’s new method on the GoogleMap class to set the style.
    MapStyleOptions style = MapStyleOptions.*loadRawResourceStyle*(this.context, R.raw.my_map_style);
    map.setMapStyle(style);
Or if your map style is stored some other way (perhaps as a Firebase Remote Config), you can create the MapOptionsStyle directly:
    String myMapStyle = "[map style here]";
    MapStyleOptions style = new MapStyleOptions(myMapStyle);
    map.setMapStyle(style);
That’s it! Your map now has a custom style. Ship it! 🛳
MapStyleManager
To achieve level of detail map styles, I created a custom class — MapStyleManager.
This class essentially sets an *OnCameraMoveListener, *and sets the appropriate map style for the current zoom level as the camera moves.
You can get the gist of it here.
Using the MapStyleManager is as simple as adding a map style, and specifying a minimum zoom level.
When the cameras zoom level reaches the minimum level for that style, the style is applied. Simple!
    MapStyleManager styleManager = MapStyleManager.*attachToMap*(this, map);
    styleManager.addStyle(0, R.raw.*map_style_1*);
    styleManager.addStyle(10, R.raw.*map_style_2*);
    styleManager.addStyle(12, R.raw.*map_style_3*);
The result is the following:
Not bad right?
It’s not quite as smooth as I hoped for. The transition between styles can be a bit jarring the first time Google Maps loads the style. It would be nice if it there was an option to preload the style.
That’s a wrap!
That’s a brief overview of custom styles for Google Maps Android API.
I can’t wait to see beautiful looking Google Maps styles everywhere!
It’s great to see the Maps team tackling some of the long standing feature requests. Keep it up Google!
If you liked this article make sure to 😍, and follow me on twitter.